

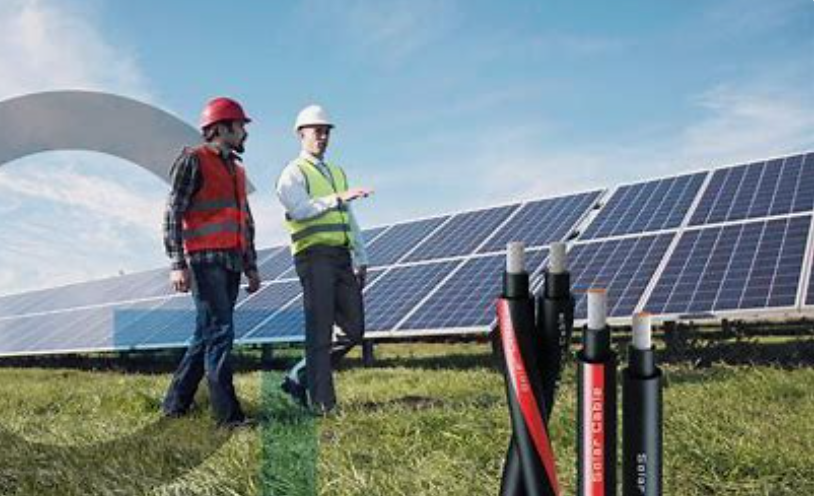
Harnessing the power of the sun, nothing is more critical than the efficiency of your solar cables. These unsung heroes of solar energy systems are responsible for carrying the energy from your solar panels to your home or business. But how do you know if your solar cables are operating at peak efficiency? Let’s dive into the world of UL solar cable and solar cable 4mm2, and explore how to test them for maximum efficiency.
UL Solar Cables: The Backbone of Solar Energy Systems
UL solar cables are designed to withstand the harsh outdoor conditions that solar panels are often exposed to. They’re made from materials that can handle high temperatures, UV radiation, and moisture, ensuring that your solar energy system remains safe and efficient. But what makes a UL solar cable different from a regular cable? And how can you tell if it’s the right choice for your solar project?
Solar Cable 4mm2: The Right Size for Your Needs
When it comes to solar cables, size does matter. The 4mm2 solar cable is a popular choice for many solar energy systems due to its balance of cost-effectiveness and performance. But how do you know if a 4mm2 cable is the right size for your system? And what factors should you consider when choosing the right cable size?
Testing UL Solar Cables for Maximum Efficiency
Testing your solar cables is crucial for ensuring that they’re operating at their best. There are several methods you can use to test the efficiency of your UL solar cables, from visual inspections to more advanced electrical tests. Let’s explore some of these methods and how they can help you maintain the efficiency of your solar energy system.
Visual Inspection: The First Line of Defense
A visual inspection of your UL solar cables is the first step in any testing process. Look for any signs of damage, such as frayed wires, exposed conductors, or damaged insulation. These can all indicate that your cables are not operating at peak efficiency and may need to be replaced.
Electrical Tests: Ensuring Maximum Efficiency
While a visual inspection can reveal obvious signs of damage, it’s not always enough to determine the efficiency of your solar cables. Electrical tests can provide a more in-depth look at the performance of your cables. These tests can include resistance testing, voltage testing, and current testing, all of which can help you determine if your cables are operating at their best.
Resistance Testing: A Key Indicator of Cable Efficiency
Resistance testing is a crucial part of any cable testing process. By measuring the resistance of your UL solar cables, you can determine if they’re operating at peak efficiency. High resistance can indicate a problem with the cable, such as a damaged conductor or poor insulation, which can reduce the efficiency of your solar energy system.
Voltage Testing: Ensuring a Strong Connection
Voltage testing is another important aspect of testing your solar cables. By measuring the voltage across your cables, you can ensure that they’re providing a strong connection between your solar panels and your home or business. Low voltage can indicate a problem with your cables, such as a break in the conductor or a loose connection.
Current Testing: Monitoring the Flow of Energy
Current testing is the final piece of the puzzle when it comes to testing your solar cables. By measuring the current flowing through your cables, you can ensure that they’re carrying the energy from your solar panels efficiently. High current can indicate a problem with your cables, such as a short circuit or a damaged conductor.
Maintaining Your Solar Cables for Longevity
Once you’ve tested your UL solar cables and solar cable 4mm2 for maximum efficiency, it’s important to maintain them to ensure their longevity. This can include regular inspections, cleaning, and replacing any damaged cables. By taking care of your cables, you can ensure that they continue to operate at peak efficiency for years to come.
The Importance of Regular Inspections
Regular inspections of your solar cables are crucial for maintaining their efficiency. During these inspections, look for any signs of damage, such as frayed wires or exposed conductors. If you notice any issues, it’s important to address them promptly to prevent further damage to your solar energy system.
Cleaning Your Solar Cables for Optimal Performance
Cleaning your solar cables may not seem like a crucial task, but it can actually have a significant impact on their performance. Dirt and debris can accumulate on your cables over time, which can reduce their efficiency. By regularly cleaning your cables, you can ensure that they’re operating at their best.
Replacing Damaged Cables: A Necessity for Efficiency
If your tests reveal that your solar cables are damaged or not operating at peak efficiency, it’s important to replace them. Damaged cables can reduce the efficiency of your solar energy system and even pose a safety risk. By replacing any damaged cables, you can ensure that your system continues to operate at its best.
The Future of Solar Cable Testing
As technology advances, so too does the way we test and maintain our solar cables. New testing methods and technologies are being developed that can provide even more accurate and efficient ways to test your UL solar cables and solar cable 4mm2. From advanced imaging techniques to smart cable systems that can monitor their own performance, the future of solar cable testing is looking bright.
In Conclusion: The Path to Maximum Efficiency
Testing your solar cables for maximum efficiency is a crucial part of maintaining a successful solar energy system. By following the steps outlined above, you can ensure that your UL solar cables and solar cable 4mm2 are operating at their best, providing you with the maximum amount of energy from your solar panels. Remember, regular testing and maintenance are key to keeping your solar cables efficient and your solar energy system running smoothly.
